MagicBand and MagicBand+ Step by Step Guide

Now that we've covered the basics, let's go through how to choose and manage your MagicBand or MagicBand+.
Choosing Your MagicBand or MagicBand+


 2. This page is where you can choose (or decline) a MagicBand or MagicBand+ for each guest. Click on Select below the person you would like to make a selection for.
1. There are a couple ways you can get to the MagicBands page to choose your MagicBand or MagicBand+. One way is to go to the My Plans page under the My Disney Experience tab on the Walt Disney World website. Scroll down the page and click on "Please make your selection". (Important note: You'll need to make sure your Resort Hotel reservation is linked in order to choose your MagicBand or MagicBand+.)

The other way you can select your MagicBand or MagicBand+ is by going to the My MagicBands and Cards page under the My Disney Experience tab.

On the MagicBands and Cards page, you'll see a countdown with how many days you have left to complete your order. If you click on Why? you'll see more information on when you need to make your MagicBand or MagicBand+ selections.

A pop-up window will appear showing the Shipping Timeline for receiving your MagicBand or MagicBand+. If you choose your MagicBand or MagicBand+ more than 11 days before arrival, your MagicBand or MagicBand+ can be shipped to your house. If you choose your MagicBand or MagicBand+ 10-6 days before your trip, your MagicBand or MagicBand+ will be shipped to your Resort. 5-1 days before your trip, MagicBand or MagicBand+ are unfortunately no longer available for selection.

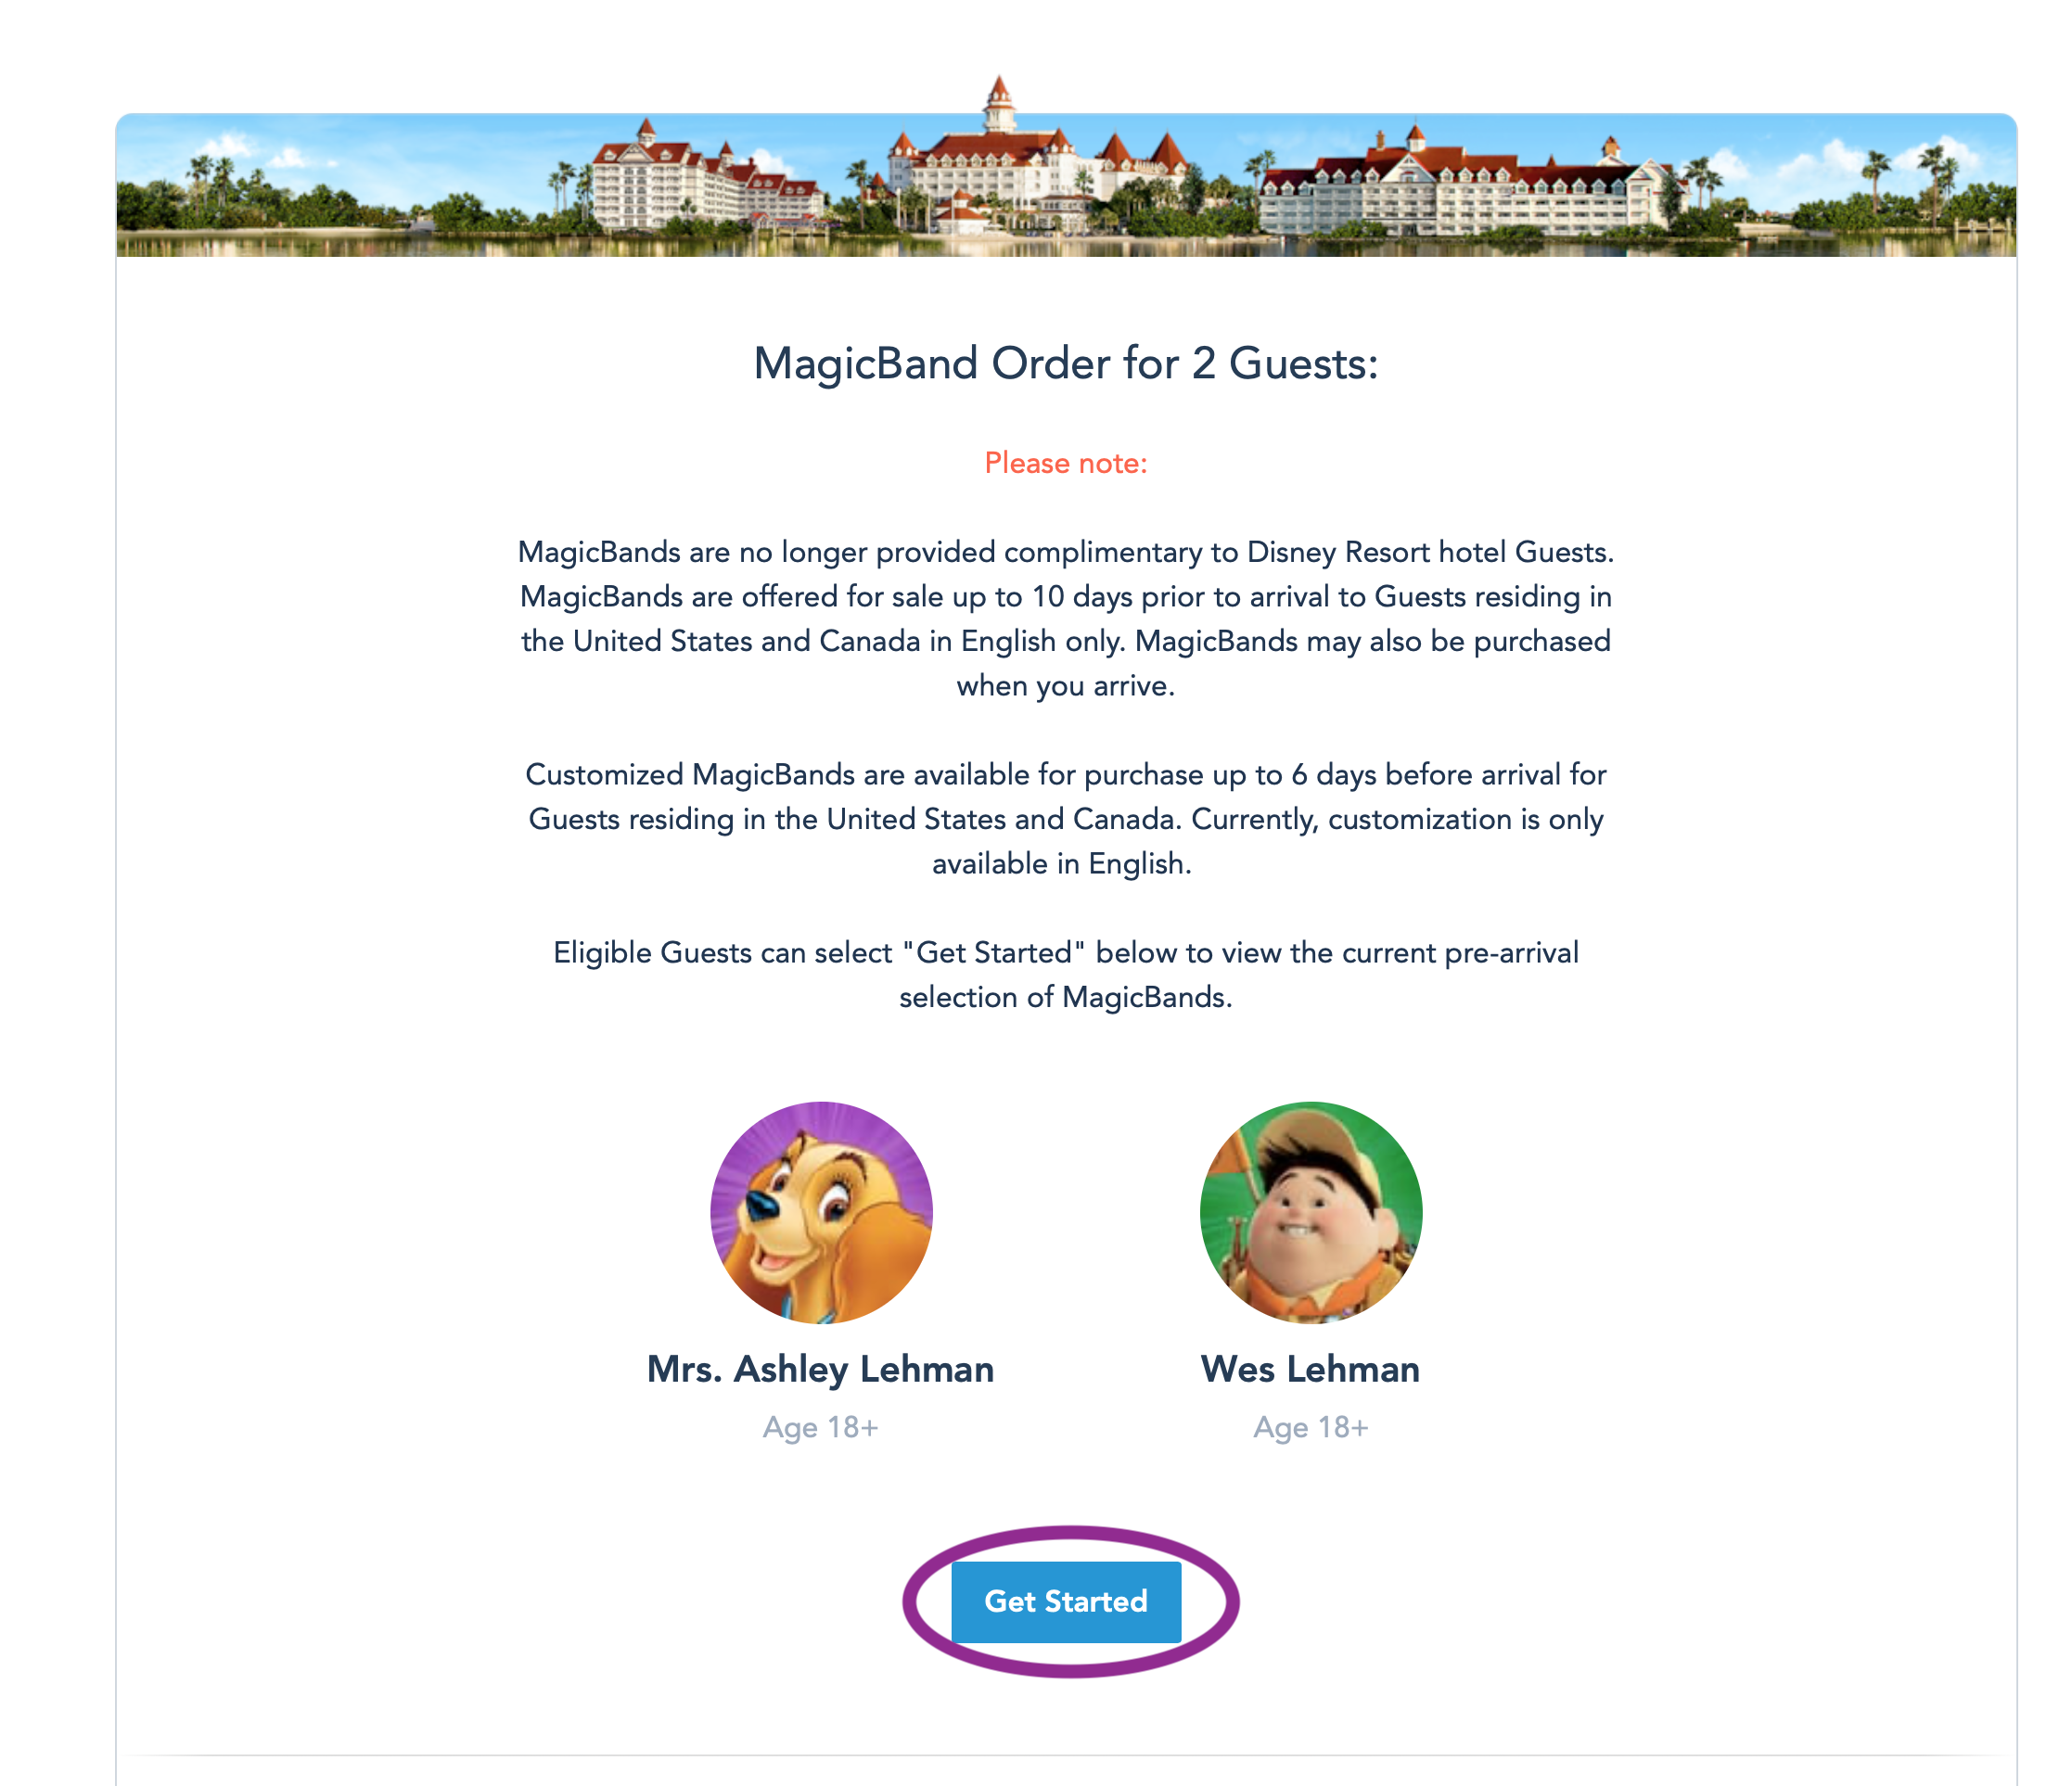
Once on the MagicBands and Cards page, click on the button Get Started and it will take you to the page to select your MagicBand or MagicBand+.

 |
| Filter Options |
As you scroll through the available MagicBands or MagicBand+, you can hover over the images to see the price for each band. Prices are subject to change but the current prices range from $10 plus tax for the solid color MagicBands up to $34.99 plus tax for some of the more elaborate MagicBand+ designs. Order your MagicBand or MagicBand+ before your vacation to take advantage of this special pre-arrival pricing.

It's important to know that you do not have to purchase a new MagicBand or MagicBand+ before each trip. MagicBands or MagicBand+ are totally optional and they're also reusable so if you already have a MagicBand or MagicBand+ you can reuse it on a future trip. You'll see the option to Decline a New MagicBand under your name at the top of the page. If only some people in your party want to purchase a new MagicBand or MagicBand+, they can purchase a MagicBand or MagicBand+ and others can decline.
If you or someone in your party wants to decline a new MagicBand or MagicBand+, click on Decline a New MagicBand and then click on Decline Pre-Arrival Offer on the pop-up window.


For our step by step guide, we're going to continue with purchasing some MagicBands.
3. Once you find the MagicBand or MagicBand+ you want to purchase, click on that MagicBand or MagicBand+. You will then see the option to customize your MagicBand or MagicBand+ with your name. There is a limit of 9 characters so you may have to use a nickname if your name is longer than 9 characters. After you enter your name, click Complete.


5. The Checkout page is where you can Complete Your Order. Review your MagicBand order and make sure all of the engravings are correct. You'll see an option to Edit the MagicBand if you change your mind or need to fix an engraving. Below the MagicBand Order section, you'll see those guests who have chosen to reuse their MagicBands. You can also edit your mailing address.

Scroll down the page and you can enter in your Payment Method. You'll need to enter in your Security Code if your credit card is already on file. You can also click on Use a Different Card if you want to enter a different credit card or click on Use this Card to use the card on file. Make sure you also check the box next to the Terms and Conditions.

Once you've filled out the form, clicked on Use this Card and checked the box for Terms and Conditions, the green Purchase button will become active and you can click on Purchase to place your order.
6. That's it! After you place your order you'll see a Congratulations page with your Order Number, Shipping Address and shipping timeline information if you've placed your order more than 11 days before your arrival date. You should also receive a confirmation email with your order and will receive an email once your order has shipped.

Now that you know how to order your MagicBand or MagicBand+, let's talk about managing your MagicBands.
Managing Your MagicBand or MagicBand+
1. First things first, you need to click on the My MagicBands and Cards page under the My Disney Experience tab. Scroll down past the Your MagicBand Order section to the Manage MagicBands or Cards section.


3. For each MagicBand or MagicBand+ in your account you have the option to Deactivate/Activate, or Report Lost. Multiple MagicBands or MagicBand+ can be assigned to one person so you do not need to deactivate an old MagicBand whenever you activate a new MagicBand. I've put in some dummy MagicBand IDs so you can see what this page looks like.

All of your active MagicBands or MagicBand+ will have access to the benefits and entitlements you have in your account. MagicBands and MagicBand+ are interchangeable so as long as they are active, you can bring multiple MagicBands or MagicBand+ on your trip and wear them whenever you'd like. (I like to match my MagicBand to my outfit each day!)
Sometimes guests may lose or misplace a MagicBand or MagicBand+ and if this happens you'll want to click on the Report Lost button. This will prevent someone else from using your MagicBand or MagicBand+. If you do find your MagicBand or MagicBand+ again, you can easily click on Report Found so that you can Activate your MagicBand or MagicBand+ once again.

4. If you don't see one of your MagicBands or MagicBand+ in the Manage section, scroll down to the bottom of the page and you can Link a MagicBand by clicking on the Link button.

.png)
Have more questions about MagicBands or MagicBand+? Leave use a comment with your question or make sure to read our MagicBands 101 and MagicBand+ articles for more answers.

.png)
